In round 1 I ended up playing someone who travelled even farther than myself to get to the tournament. Though I cant recall his name, it was easily one of my favorite games of 40k all time. He was using 2 landraiders loaded with terminators, Lysander and a librarian heading up each of these combat nightmares. 3 tactical squads, and a unit of scouts made up his scoring units.
Each of the marine squads were in pods as was a dreadnought, he also had an assault squad with jump packs. The first mission in hard boyz used a spearhead deployment with a few turns of random night fights. There were also 3 objectives, we ended up with one on the left, one on the right, and one in the center. In order to get max points one of us would have to control all three, a tall order in any scenario, and not usually the victory parameters.
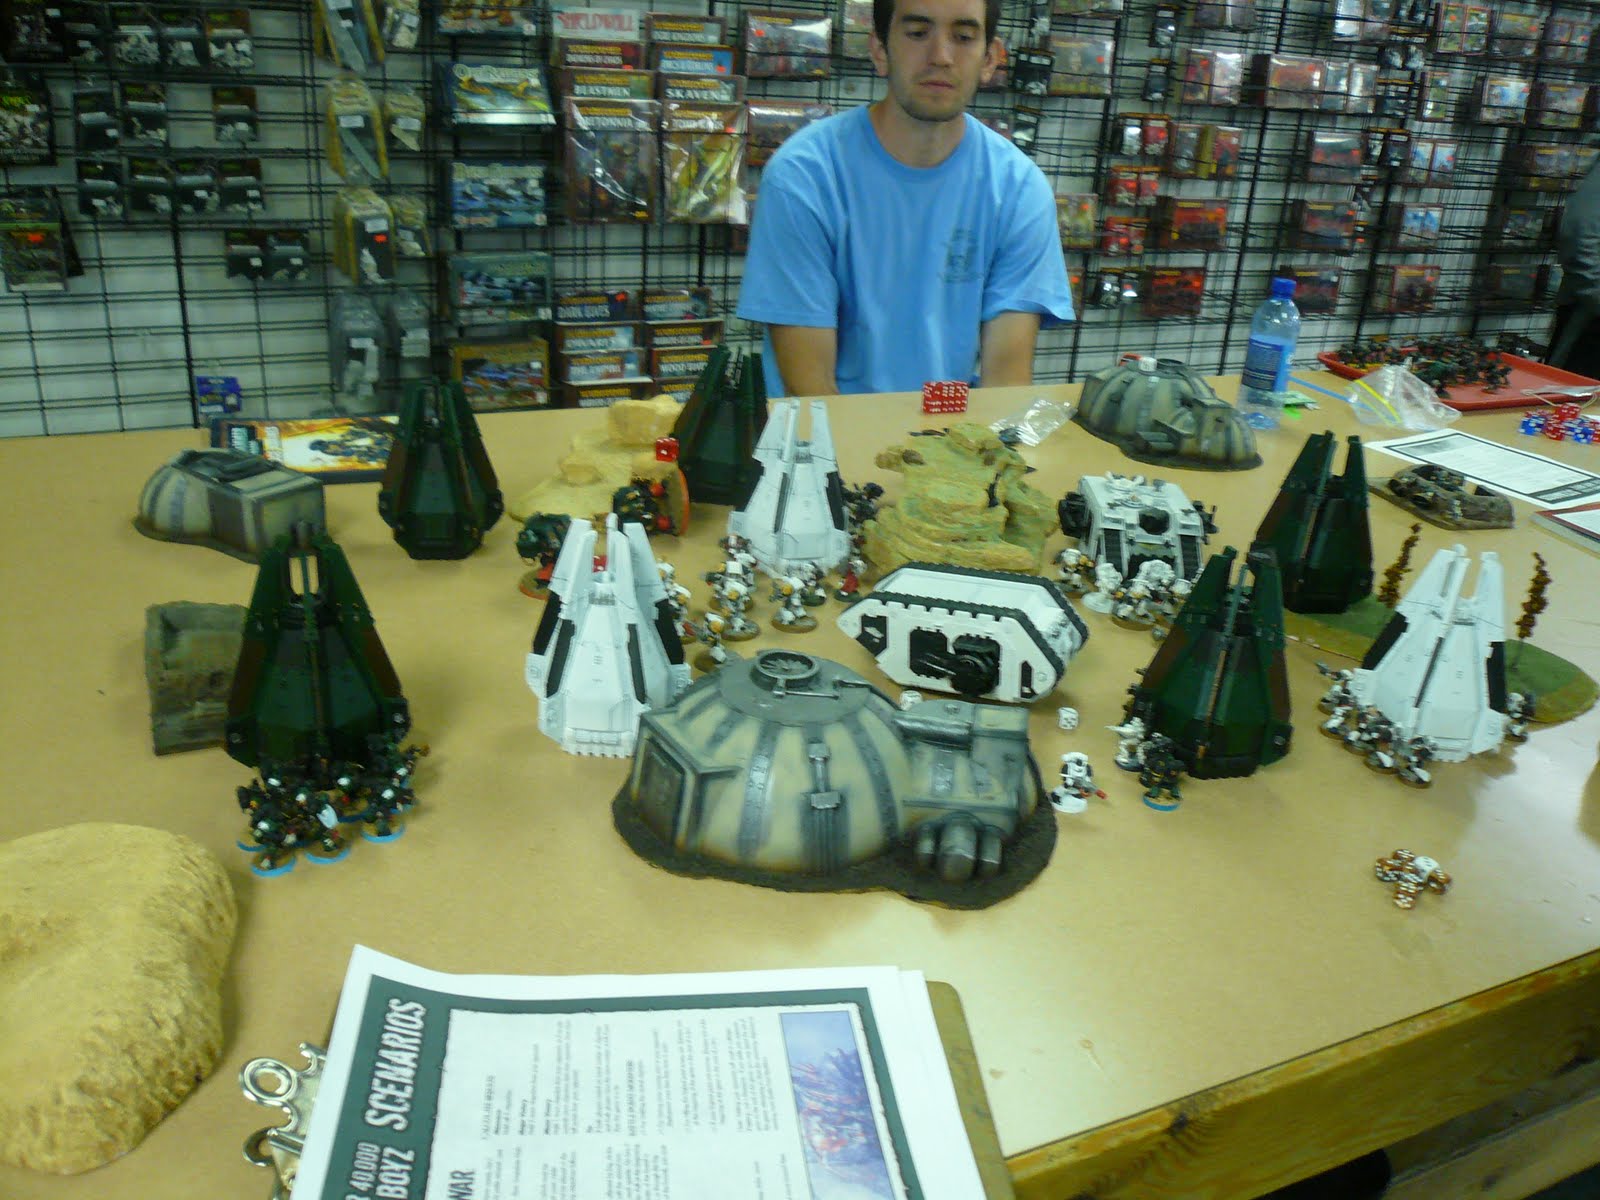
 Here is the opponents initial deployment. Lysander is in the far landraider with half the terminators, and the librarian and the rest of the terminators is in the foremost landraider near the assault marines.
 All of my units being in pods meant no deployment for me. So on his turn 2 of his pods arrived. Here we have one tactical squad. And you can see the assault squad has moved up behind the central rock terrain.

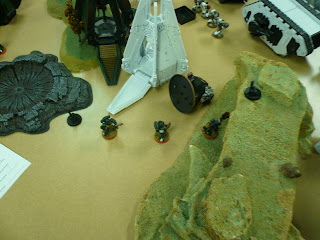
 Here the other tactical squad is visible on the far right. You can also see that Lysander's landraider has moved far afield and separated from the bulk of his army.
 Here I have begun to place my 5 turn one drops. Since 9 total pods I got 5 turn 1. In the top center you can see where my first Ironclad has landed. At the bottom right of the screen is a venerable dreadnought.
 Here in the top right of the board I landed vulkan and the master of the forge along with a sternguard squad. And in the center of the picture was my second venerable dreadnought.
 And here my last drop becomes visible, the other sternguard squad which landed to try and neutralize the librarians landraider.
 Well turn 1 shooting commenced as my hand motions seem to entail. I wrecked the librarian's landraider as you can see forcing the terminators out into the front. The tactical squad in front of the other sternguard squad was reduced from mass fire and its lone survivor began the long flee away to safety. Otherwise the dreadnought did very little in the way of putting any wounds on the other nearby marines.
 Here began my opponents second turn. Lysander and his retinue turned around and prepared to assault my ironclad. His tactical squad in pod landed here behind my sternguard's pod. You can also see here that his remaining tactical marine from turn one has continued to flee, melta gun still ready to fire.
 His shooting downed a venerable dreadnought. And stunned the other, which his terminators prepared to assault.


 The assault with the venerable here was inconclusive. As was the one with the Ironclad, which was surprising considering Lysander's str 10 hammer of doom.
 Here on turn 2 I tried to use a half of sternguard squad bolstered by Vulkan and the master of the forge to break the terminators
 The remnants of my other sternguard assaulted some tactical marines. While one of my tactical squads landed to flame his scouts out of their bunker on the far side of the field.


 Vulkan and company charged into combat.... and were soundly trounced, and fled. So one ill advised choice broke open a game I felt I had a good grasp on.
 Here on turn 3 he used vortex of doom on the few remaining sternguard that had fled with vulkan. He killed them all and this forced an automatic fall back move by vulkan to just behind the pod pictured here. This was a mistake for him as it put him outside assault range with the terminators and also left vulkan in a position from which he could regroup. Also his assault marines and tactical marines mobbed up in the space between all the pods, and shot and killed a few of my other sternguard.
 Lysander finally finished the Ironclad dreadnought.
 My second dreadnought landed to try and use its heavy flamers on the mass of marines. While in the bottom of this screen you can see my tactical squad has landed and hidden itself for the moment behind its pod, while its flamer halves deployed in front to thin the enemies.
 Vulkan moved up to join with the tactical marines.
 Finally my shooting was pretty effective and his regular marines were cut down by my combination of flamers and heavy flamers and bolter fire.
 On his turn the terminators began to once again move toward vulkan. However in a turn of strange fate the dreadnoughts that had not been effective in life began to be effective in death. As wrecks they were both difficult and dangerous terrain and his terminators began to roll a trend of 1's that would last the rest of the game. I believe he lost 3 terminators to dangerous terrain tests over 2 turns.
 My tactical Squad on the far side of the table had finished with the opposing scouts and moved forward to secure the nearby objective. That crater meanwhile is the remains of his other landraider, and people say multi-meltas arent useful in tactical squads.
 In this blurry shot my final tactical squad finally lands on the near side of the table. They landed right near the other outer most objective. And add their shooting to try and wear down the remaining terminators especially Lysander's group that had cut down another Ironclad.
 His terminators continued their assault attempts on my units and finally reached vulkan, lost more members to dangerous terrain and then were beat down by the forge father.
 His dreadnought finally came down on what would be our last turn and failed to do anything. While Lysander decided to assault my final sternguard.

 On my final turn things looked fine. I had both the extreme left and right objectives but his dreadnought had contested the center one. But once again my trusty multi-melta reared its head. With a long range shot it glanced the dreadnought, and with a happy 6 roll my opponents jaw dropped and the dreadnought died from the joys of ap 1. Leaving the spread out tactical marines in command of both the middle and left most objectives.
 Here is the other objective securely claimed.


 I ended up with all three objectives and full points for round 1. Which put me headed to table 1 for round 2.
 Here is the opponents initial deployment. Lysander is in the far landraider with half the terminators, and the librarian and the rest of the terminators is in the foremost landraider near the assault marines.
 All of my units being in pods meant no deployment for me. So on his turn 2 of his pods arrived. Here we have one tactical squad. And you can see the assault squad has moved up behind the central rock terrain.
 Here the other tactical squad is visible on the far right. You can also see that Lysander's landraider has moved far afield and separated from the bulk of his army.
 Here I have begun to place my 5 turn one drops. Since 9 total pods I got 5 turn 1. In the top center you can see where my first Ironclad has landed. At the bottom right of the screen is a venerable dreadnought.
 Here in the top right of the board I landed vulkan and the master of the forge along with a sternguard squad. And in the center of the picture was my second venerable dreadnought.
 And here my last drop becomes visible, the other sternguard squad which landed to try and neutralize the librarians landraider.
 Well turn 1 shooting commenced as my hand motions seem to entail. I wrecked the librarian's landraider as you can see forcing the terminators out into the front. The tactical squad in front of the other sternguard squad was reduced from mass fire and its lone survivor began the long flee away to safety. Otherwise the dreadnought did very little in the way of putting any wounds on the other nearby marines.
 Here began my opponents second turn. Lysander and his retinue turned around and prepared to assault my ironclad. His tactical squad in pod landed here behind my sternguard's pod. You can also see here that his remaining tactical marine from turn one has continued to flee, melta gun still ready to fire.
 His shooting downed a venerable dreadnought. And stunned the other, which his terminators prepared to assault.

 The assault with the venerable here was inconclusive. As was the one with the Ironclad, which was surprising considering Lysander's str 10 hammer of doom.
 Here on turn 2 I tried to use a half of sternguard squad bolstered by Vulkan and the master of the forge to break the terminators
 The remnants of my other sternguard assaulted some tactical marines. While one of my tactical squads landed to flame his scouts out of their bunker on the far side of the field.

 Vulkan and company charged into combat.... and were soundly trounced, and fled. So one ill advised choice broke open a game I felt I had a good grasp on.
 Here on turn 3 he used vortex of doom on the few remaining sternguard that had fled with vulkan. He killed them all and this forced an automatic fall back move by vulkan to just behind the pod pictured here. This was a mistake for him as it put him outside assault range with the terminators and also left vulkan in a position from which he could regroup. Also his assault marines and tactical marines mobbed up in the space between all the pods, and shot and killed a few of my other sternguard.
 Lysander finally finished the Ironclad dreadnought.
 My second dreadnought landed to try and use its heavy flamers on the mass of marines. While in the bottom of this screen you can see my tactical squad has landed and hidden itself for the moment behind its pod, while its flamer halves deployed in front to thin the enemies.
 Vulkan moved up to join with the tactical marines.
 Finally my shooting was pretty effective and his regular marines were cut down by my combination of flamers and heavy flamers and bolter fire.
 On his turn the terminators began to once again move toward vulkan. However in a turn of strange fate the dreadnoughts that had not been effective in life began to be effective in death. As wrecks they were both difficult and dangerous terrain and his terminators began to roll a trend of 1's that would last the rest of the game. I believe he lost 3 terminators to dangerous terrain tests over 2 turns.
 My tactical Squad on the far side of the table had finished with the opposing scouts and moved forward to secure the nearby objective. That crater meanwhile is the remains of his other landraider, and people say multi-meltas arent useful in tactical squads.
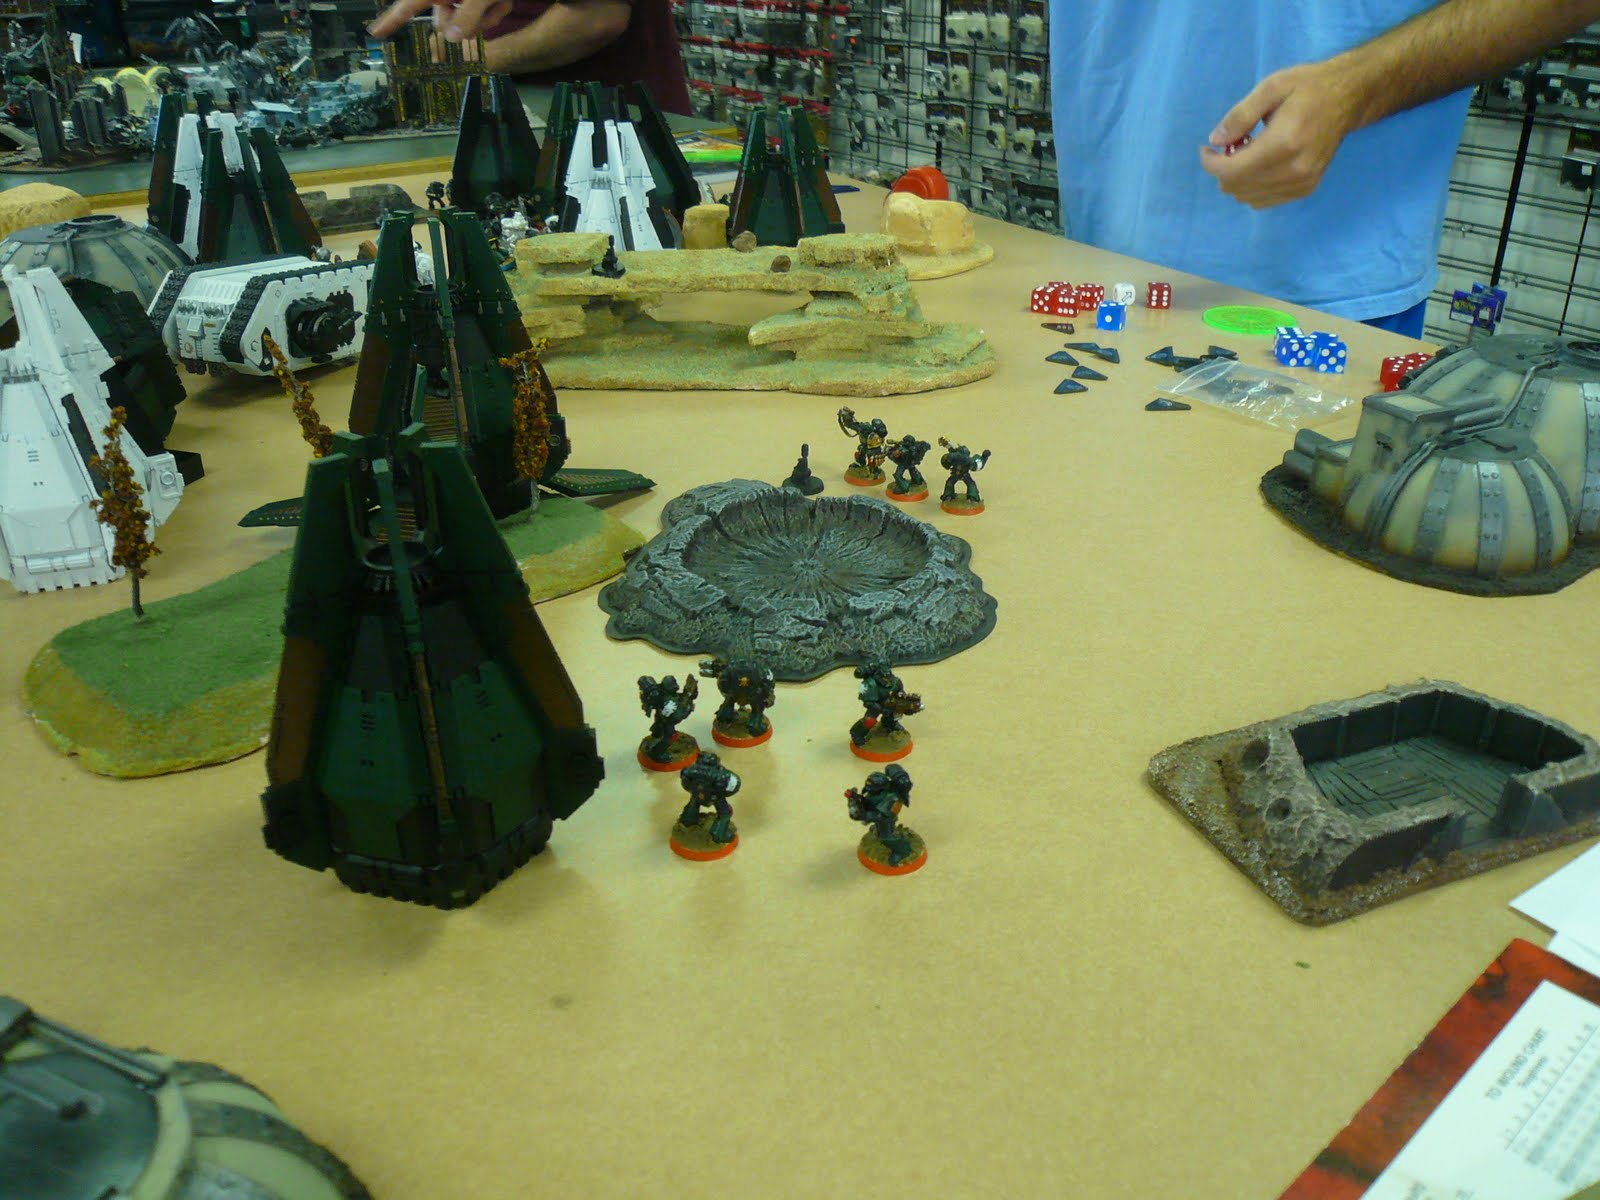 In this blurry shot my final tactical squad finally lands on the near side of the table. They landed right near the other outer most objective. And add their shooting to try and wear down the remaining terminators especially Lysander's group that had cut down another Ironclad.
 His terminators continued their assault attempts on my units and finally reached vulkan, lost more members to dangerous terrain and then were beat down by the forge father.
 His dreadnought finally came down on what would be our last turn and failed to do anything. While Lysander decided to assault my final sternguard.
 On my final turn things looked fine. I had both the extreme left and right objectives but his dreadnought had contested the center one. But once again my trusty multi-melta reared its head. With a long range shot it glanced the dreadnought, and with a happy 6 roll my opponents jaw dropped and the dreadnought died from the joys of ap 1. Leaving the spread out tactical marines in command of both the middle and left most objectives.
 Here is the other objective securely claimed.

 I ended up with all three objectives and full points for round 1. Which put me headed to table 1 for round 2.
No comments:
Post a Comment